Aerial Photos of San Francisco
Have you ever considered shooting aerial photos of San Francisco and its environs? You can do it from commercial airplanes. Here’s what it takes.
First, forget about your mobile phone. You will need a decent DSLR or mirrorless camera and a long focal length lens with 200 to 300 mm capability. Mine is 55-300 mm and it suits me well.
The main opportunity is on morning take-offs from SFO, in domestic flights heading north or east and international flights to Europe. Landings don’t work. The prevalent approach is from the south and the view is boring.
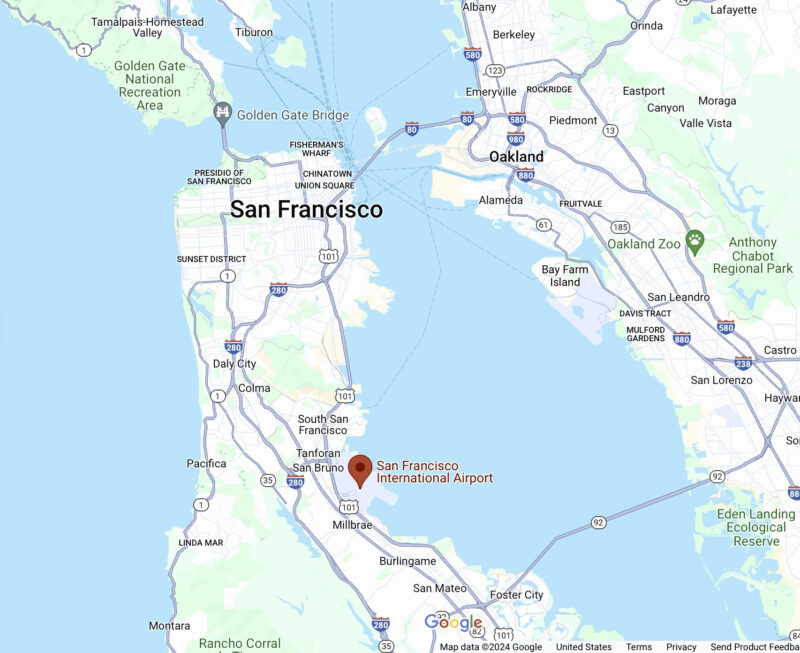

SFO uses two sets of parallel runways for takeoffs. One set, 28R and 28L is oriented in a northwesterly direction. The other, 19R and 19L, take off southwesterly. My method works mainly for 28R or 28L takeoffs which happen to be more common.
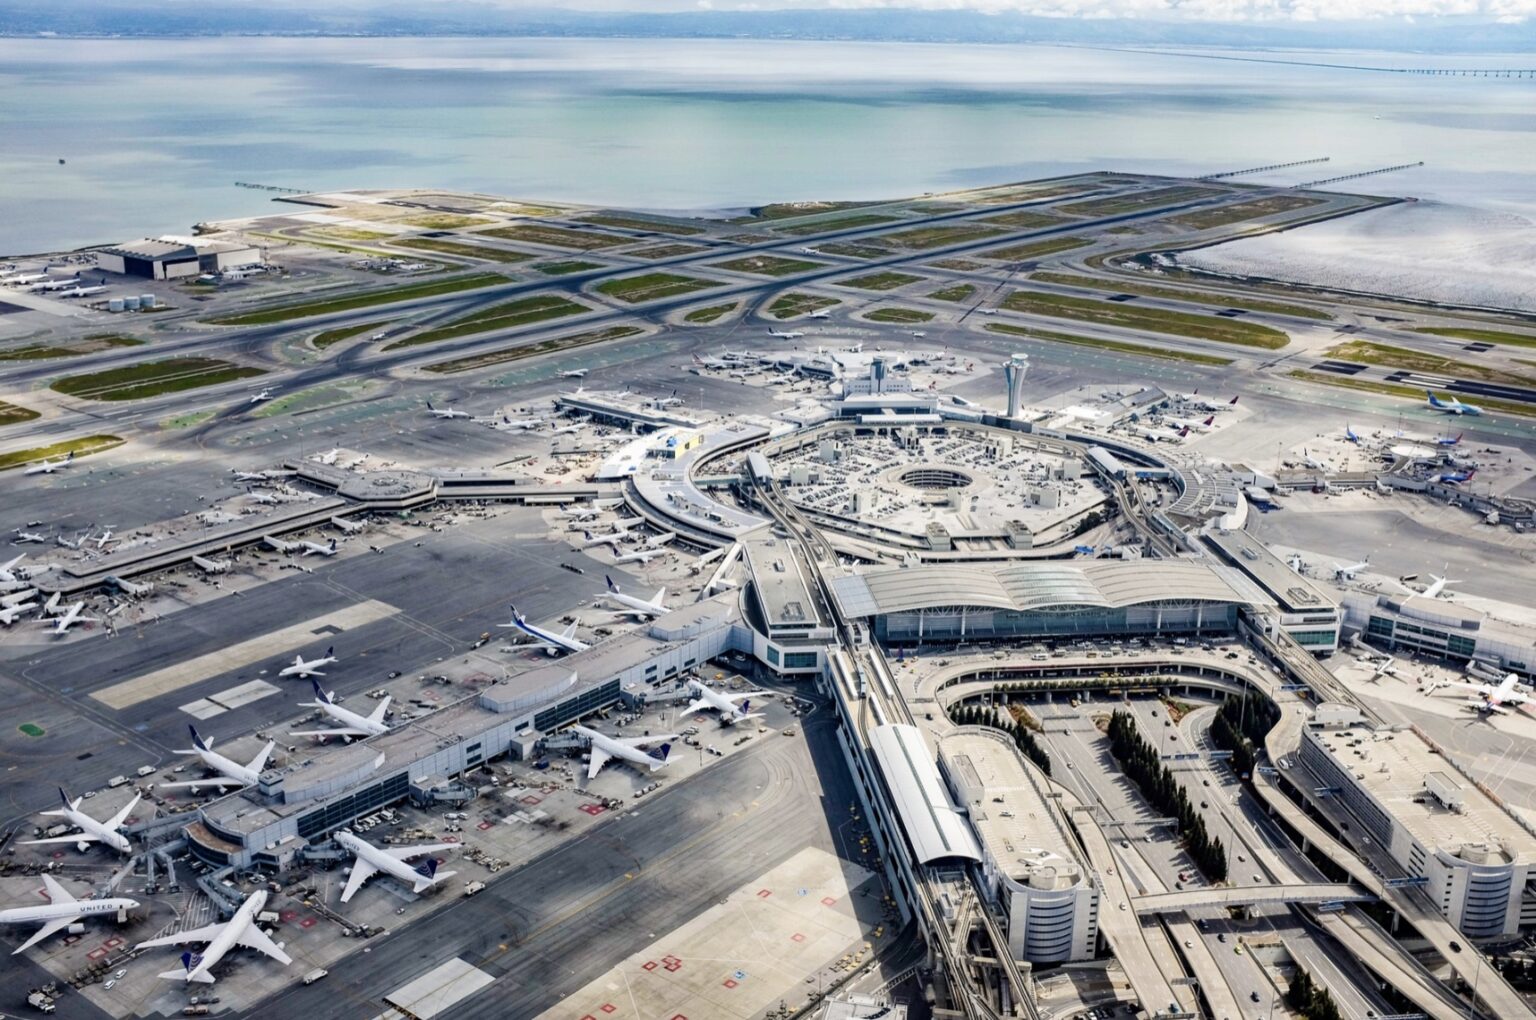
The reason for this is prevailing winds. Flight patterns depend on wind patterns, takeoffs being preferred against headwinds. It must be that headwinds are more common on 28R & L because that’s the most common takeoff pattern I experience. I have discovered this over many years of flying from SFO.
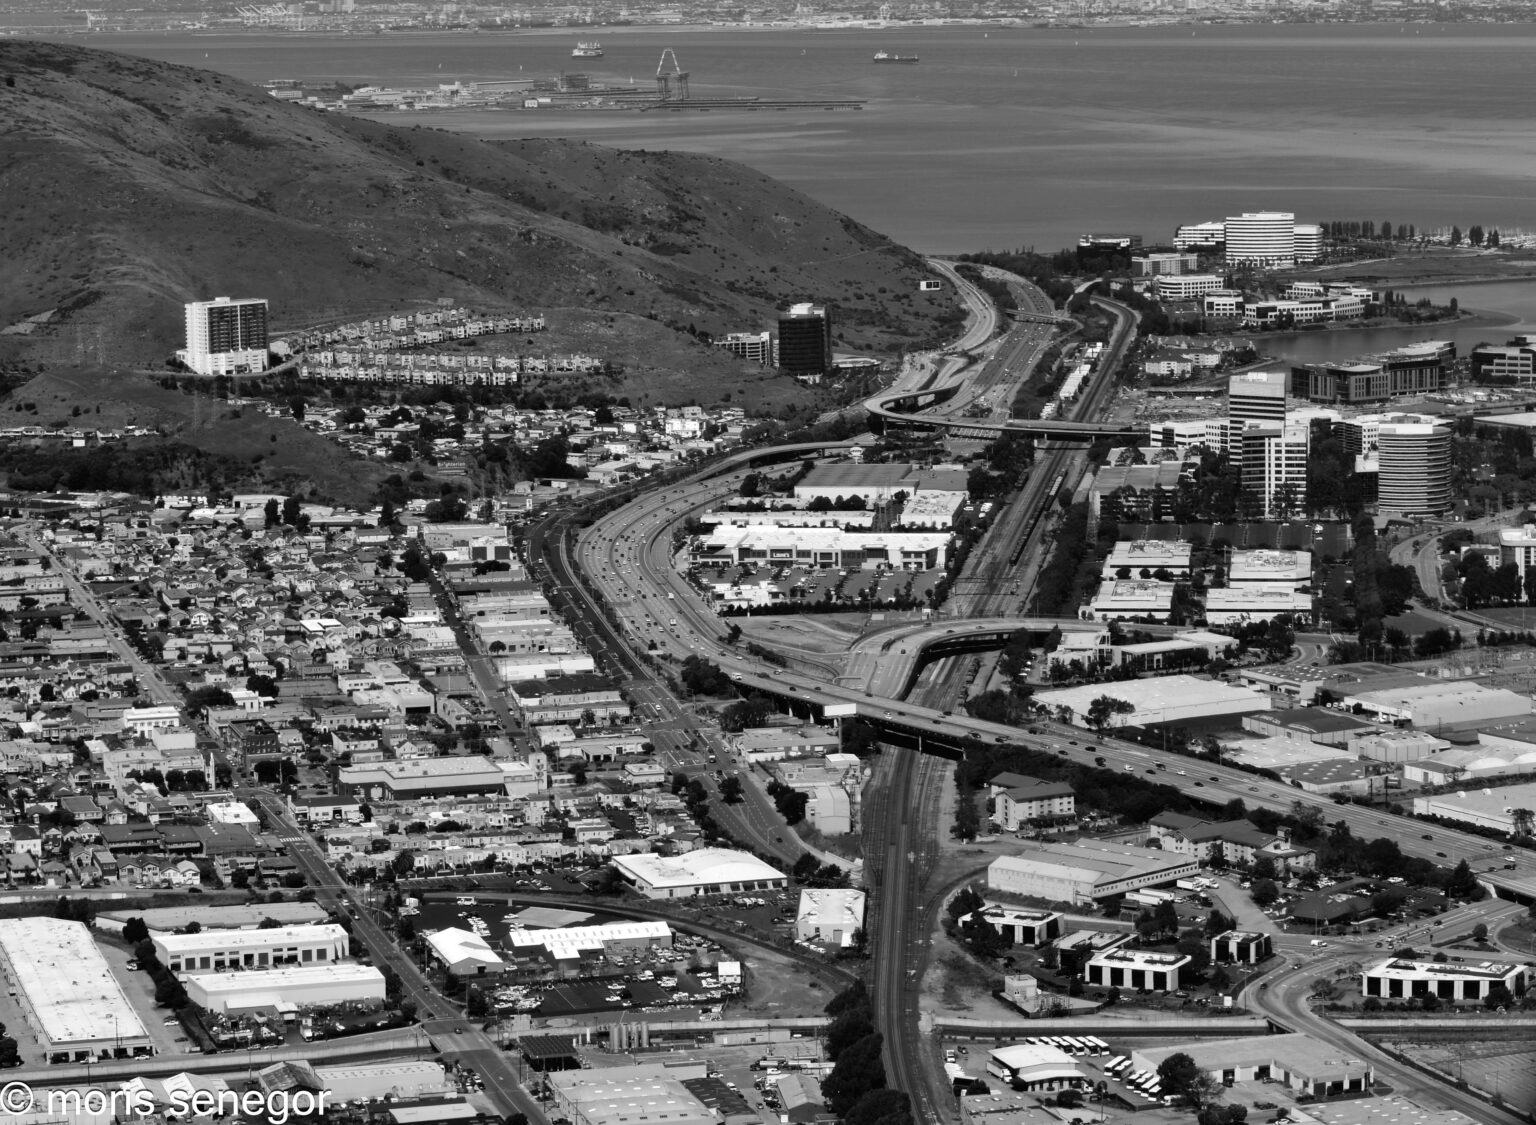
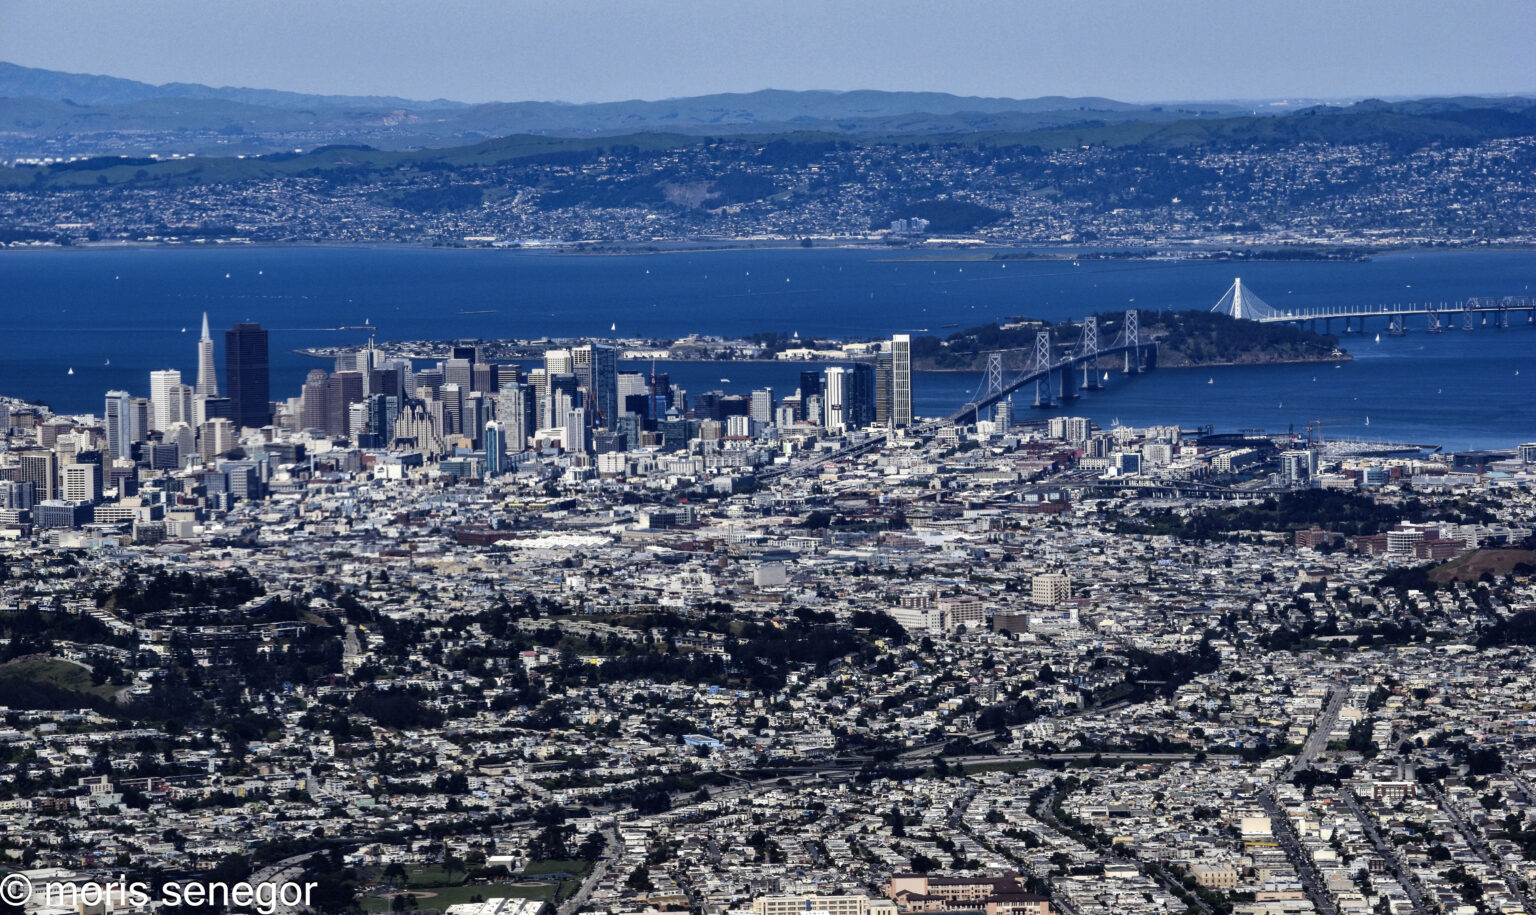
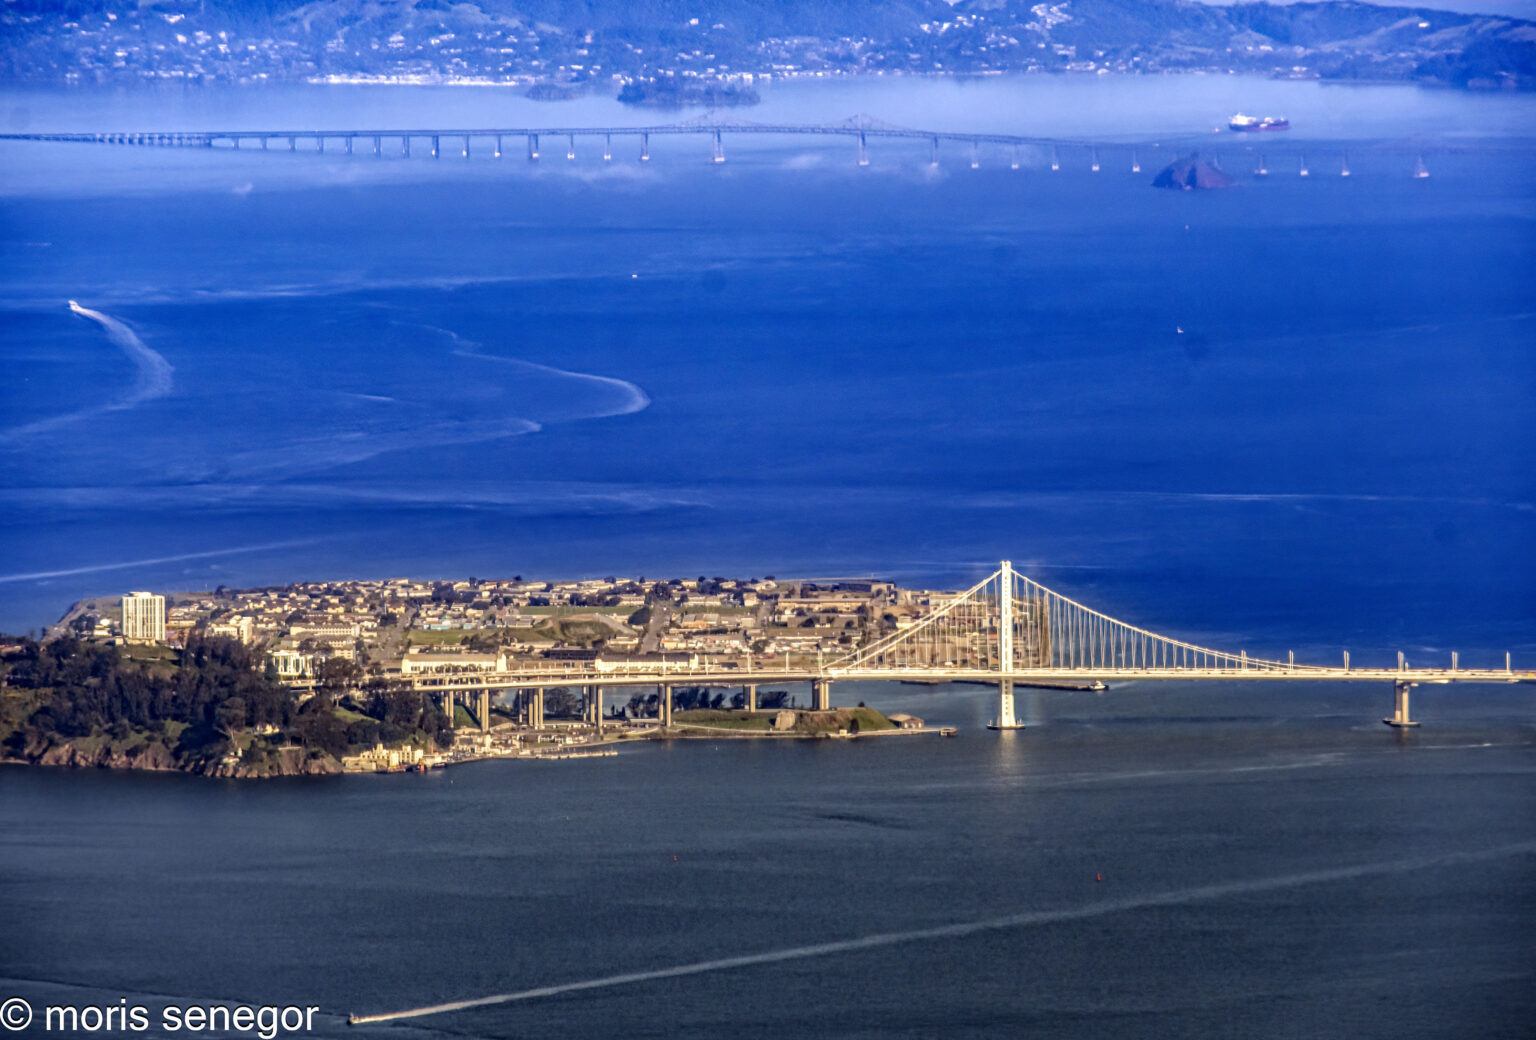
The 28R & L takeoff initially parallels the Peninsula and then banks east, giving spectacular views of the city, and as the plane further ascends, the Bay, the bridges, Marin headlands and eventually the cities of the East Bay.
You obviously have to be at a window seat, one that is not obstructed the plane’s wing. The front of the plane is ideal.
Here’s the key secret: you have to select a left-side window.
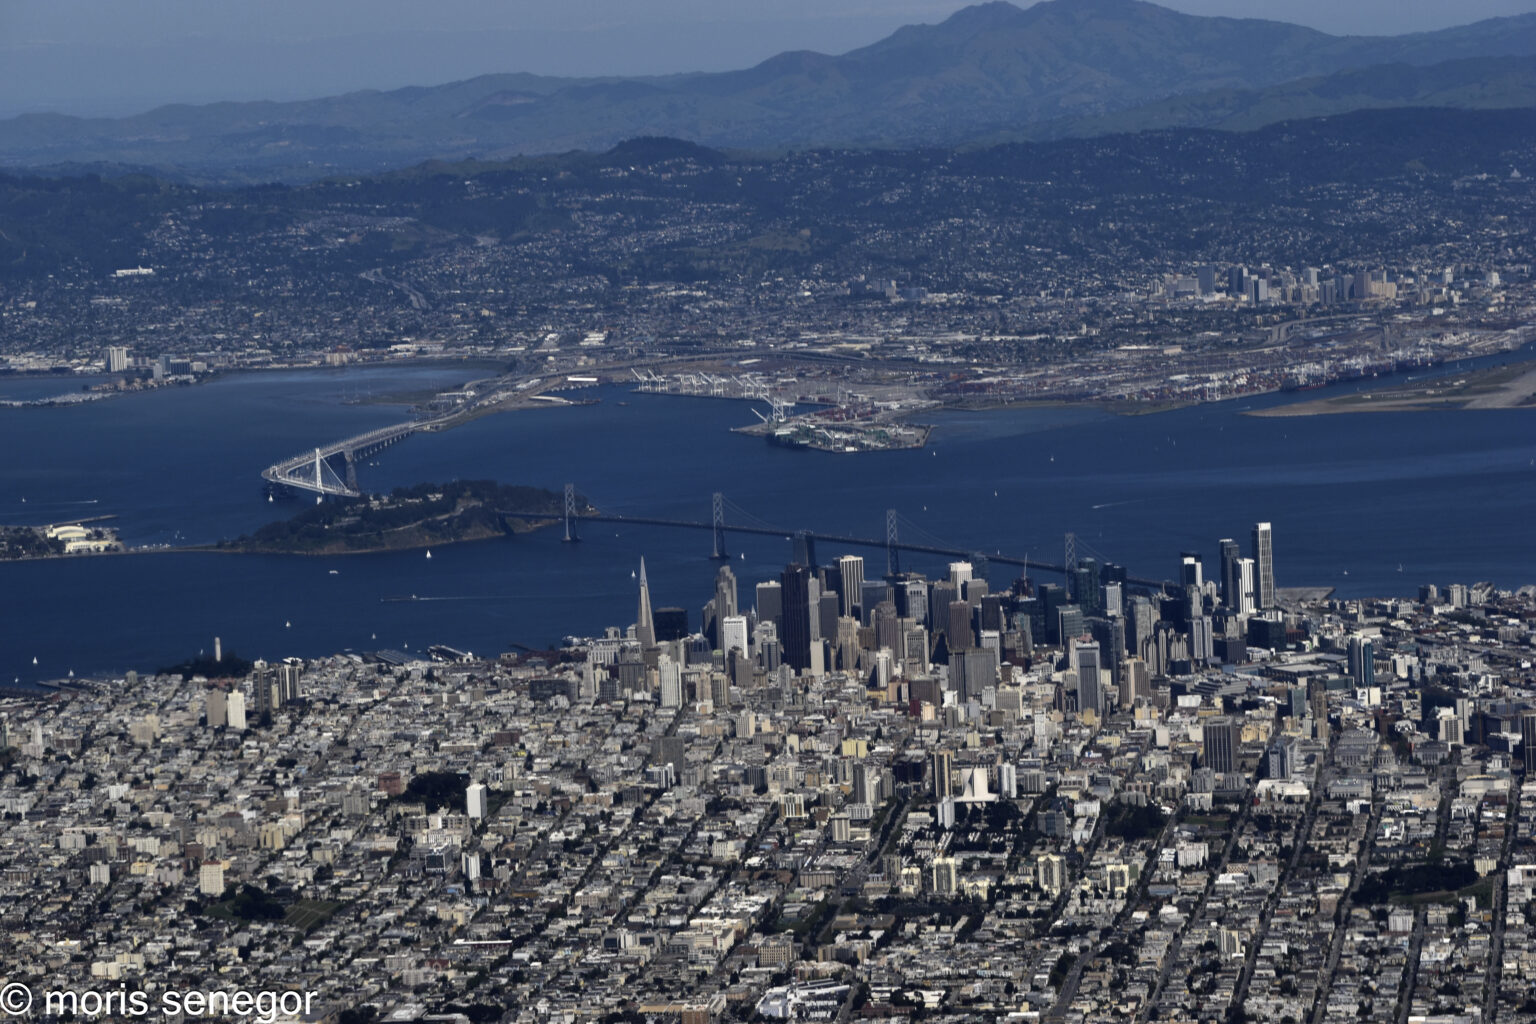
On morning takeoffs from 28R & L, it is the left side that will give you those views and better yet, the morning sun will be on the right, casting perfect light on the City.
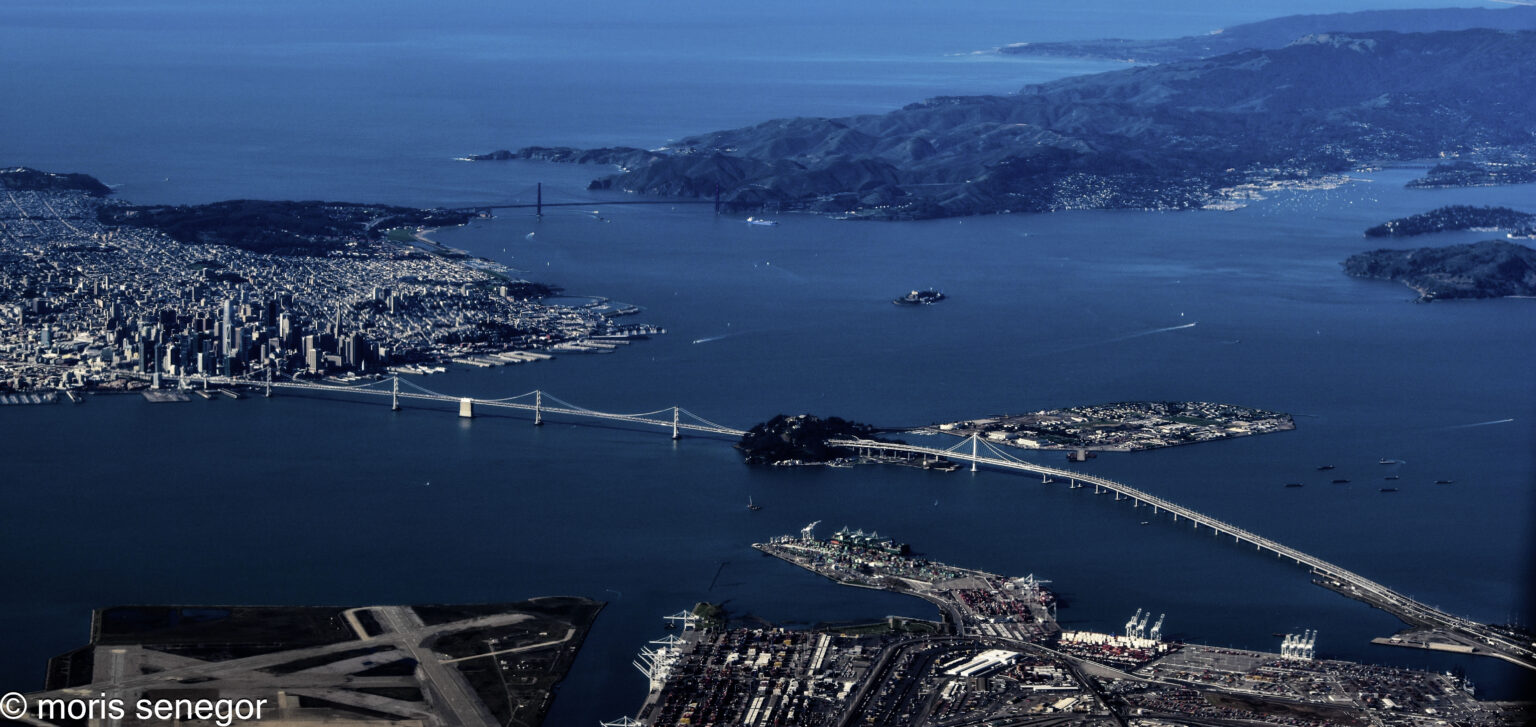
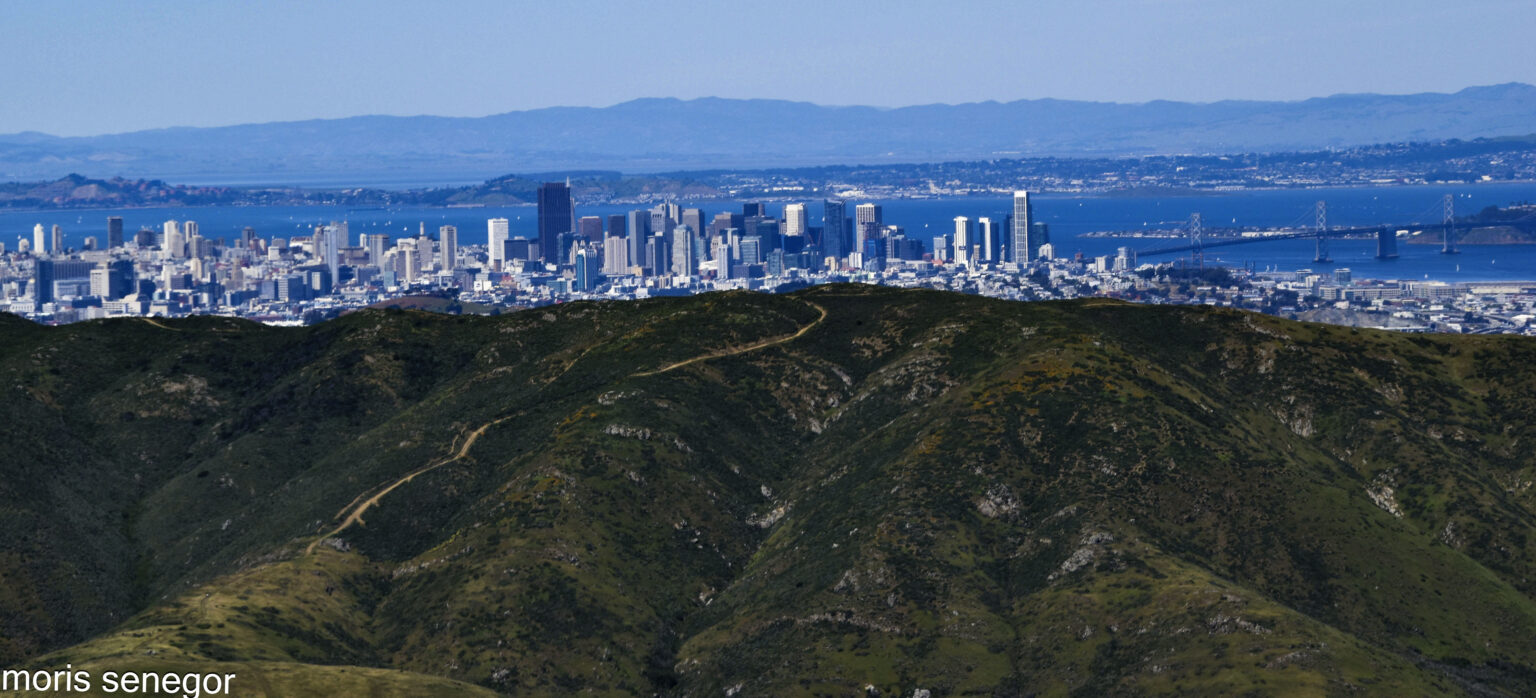
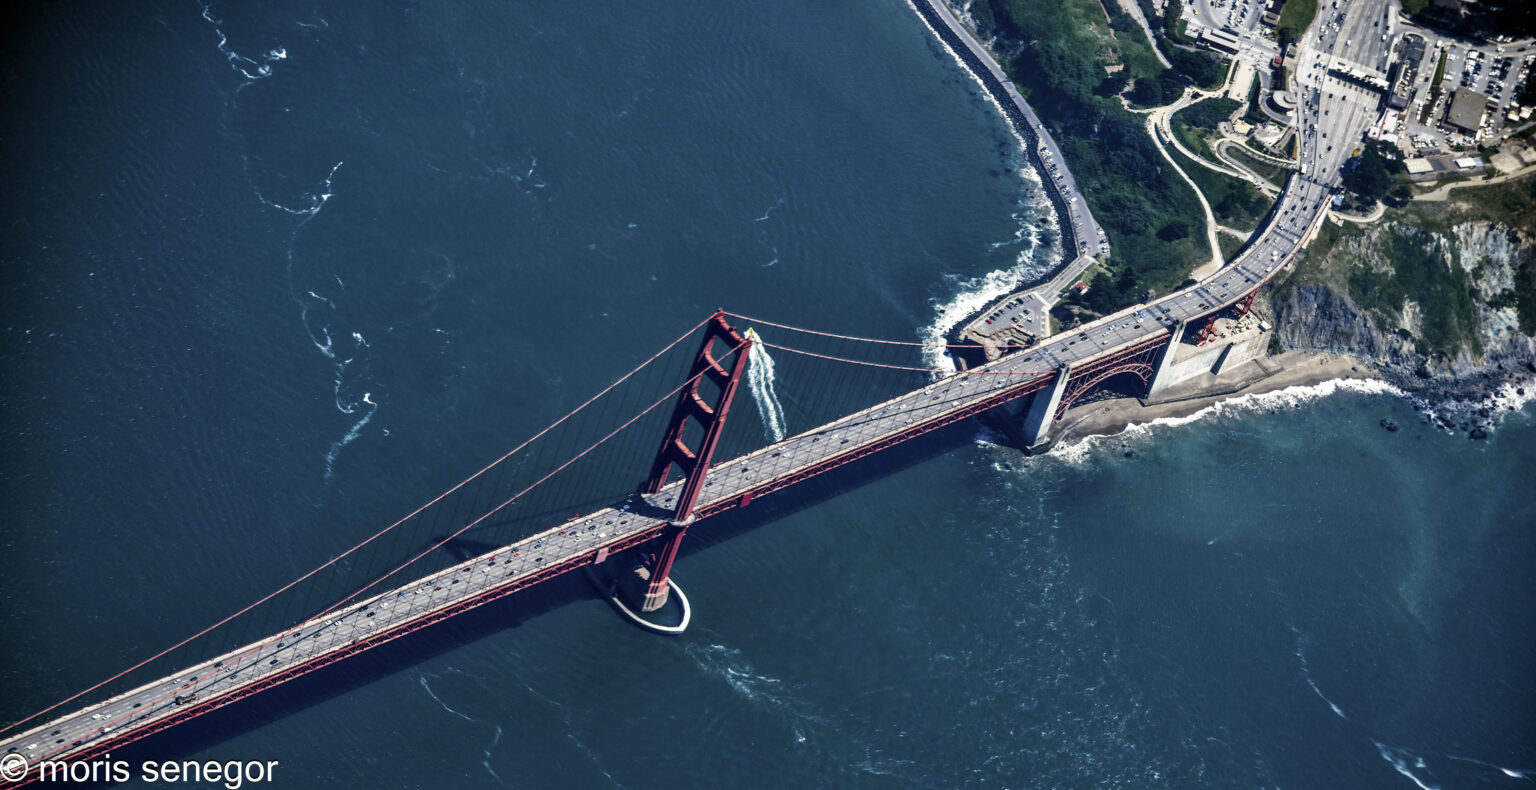
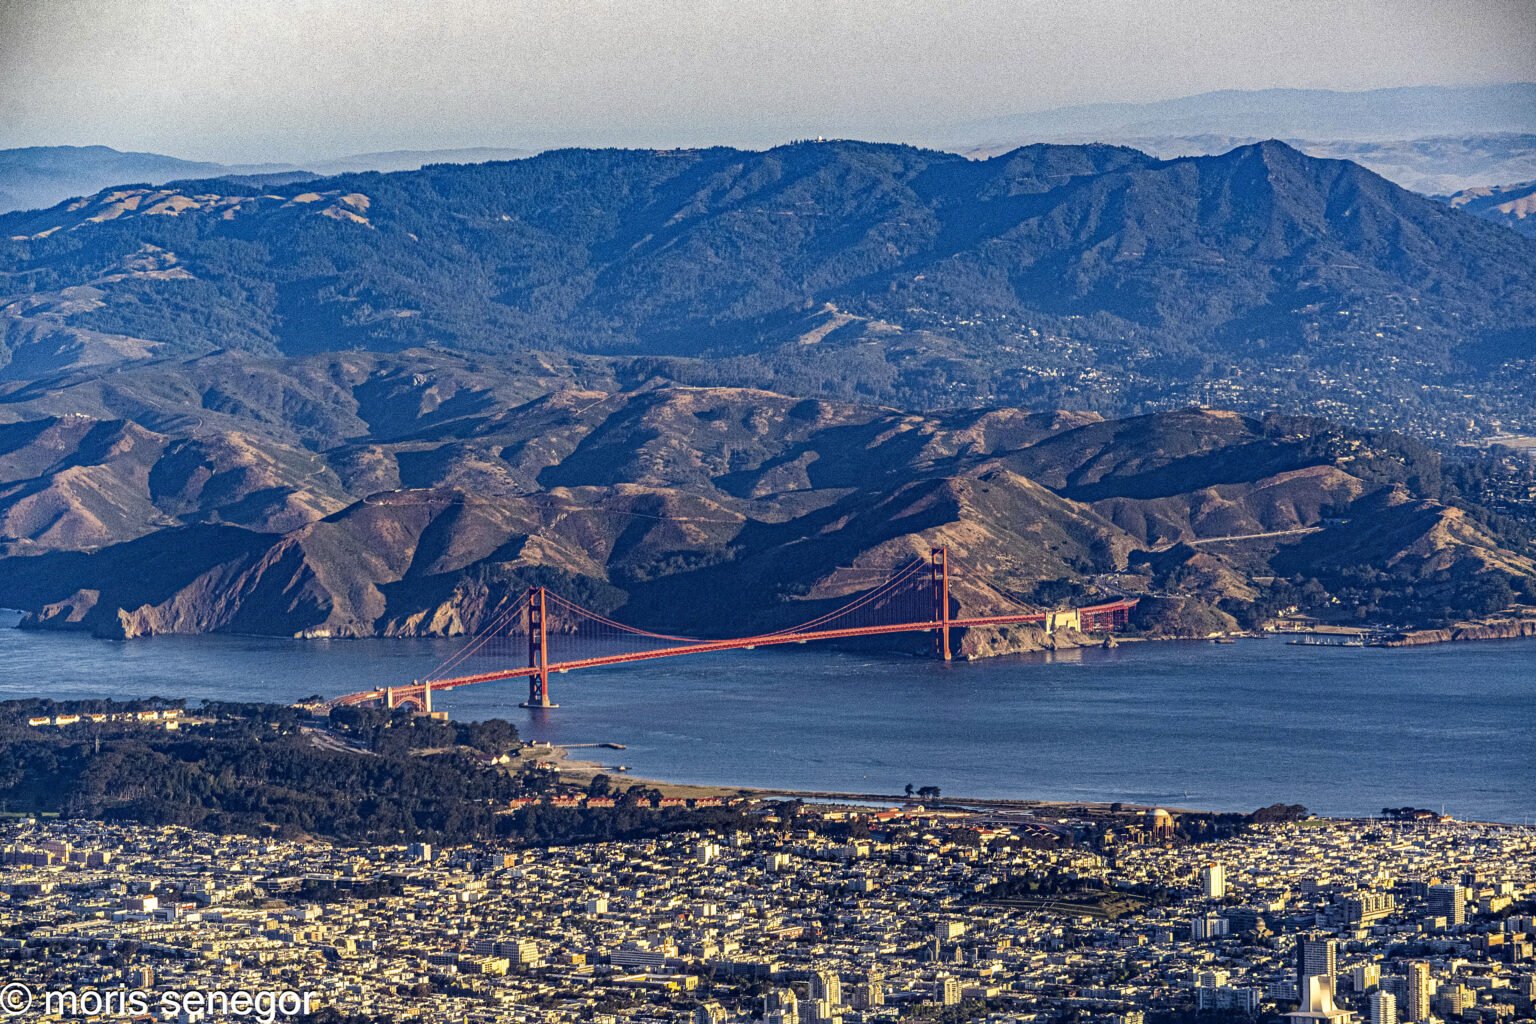
The eastern turn of the plane often occurs south of the Bay Bridge, giving the view in the above photo. Sometimes however, if you’re lucky, it will bank farther north, over the Sunset District, affording views of the Golden Gate Bridge.
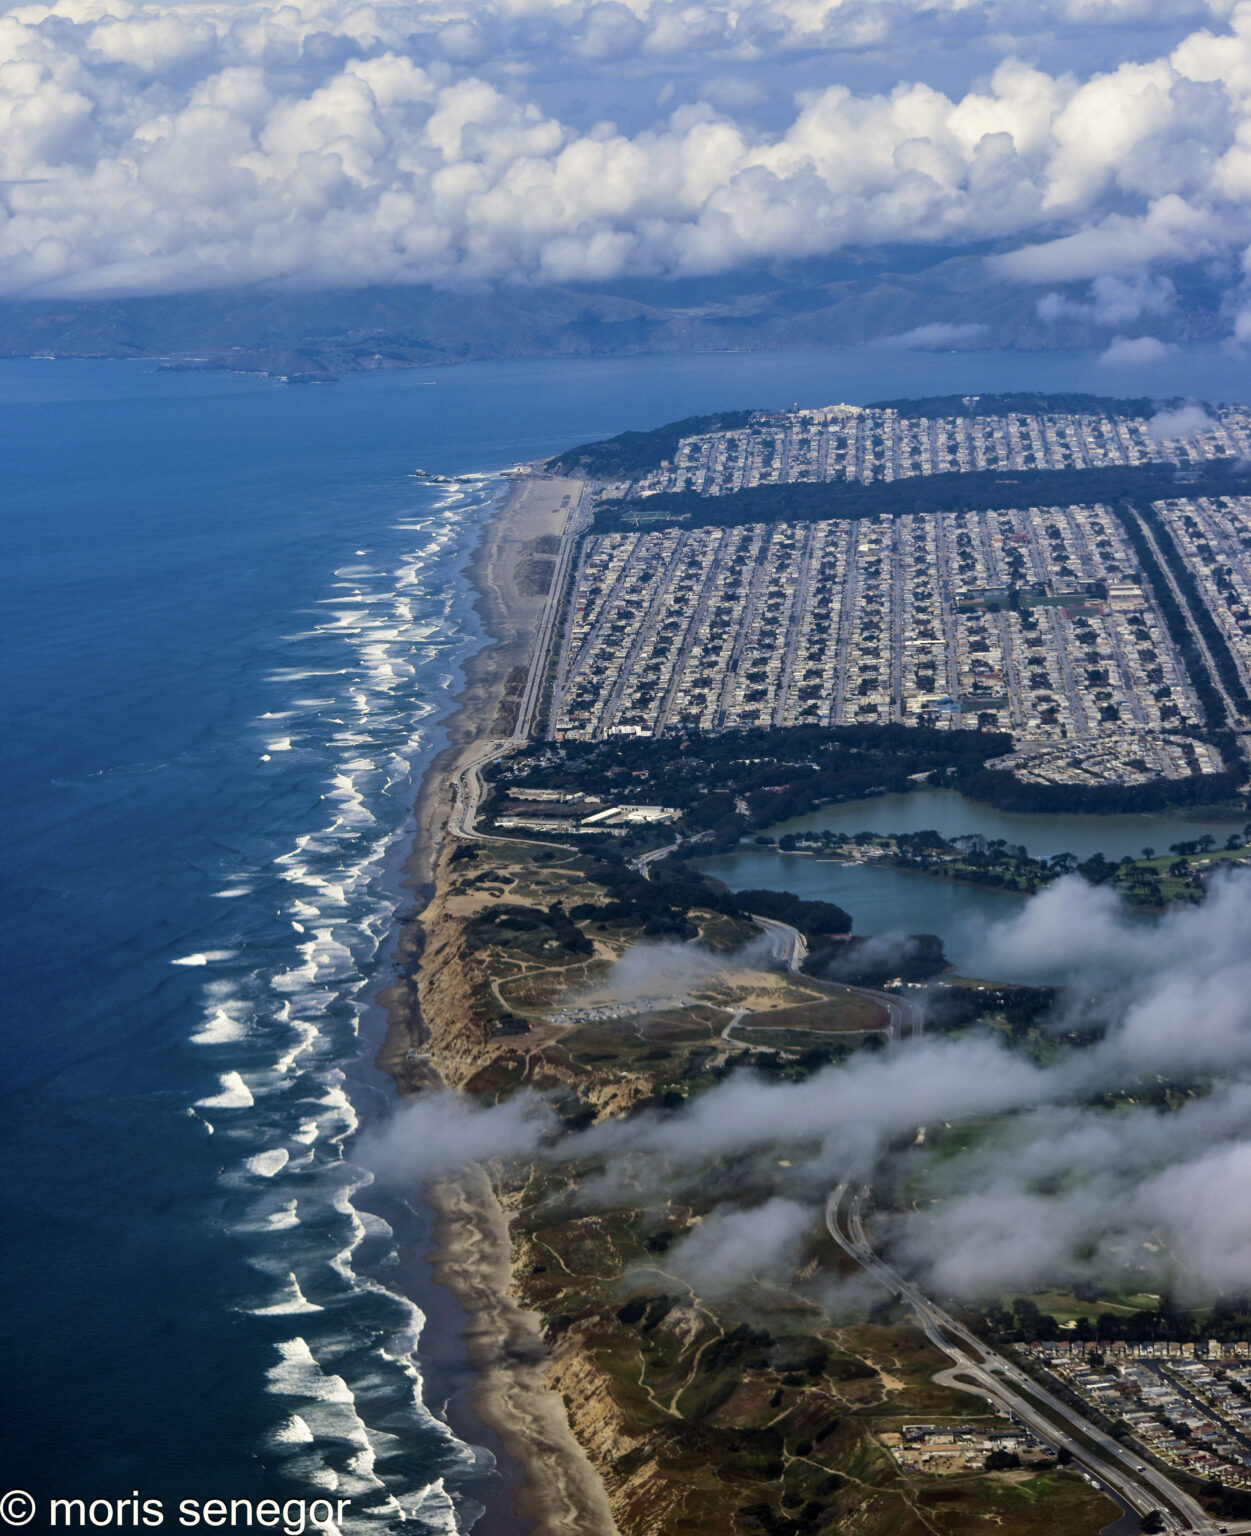
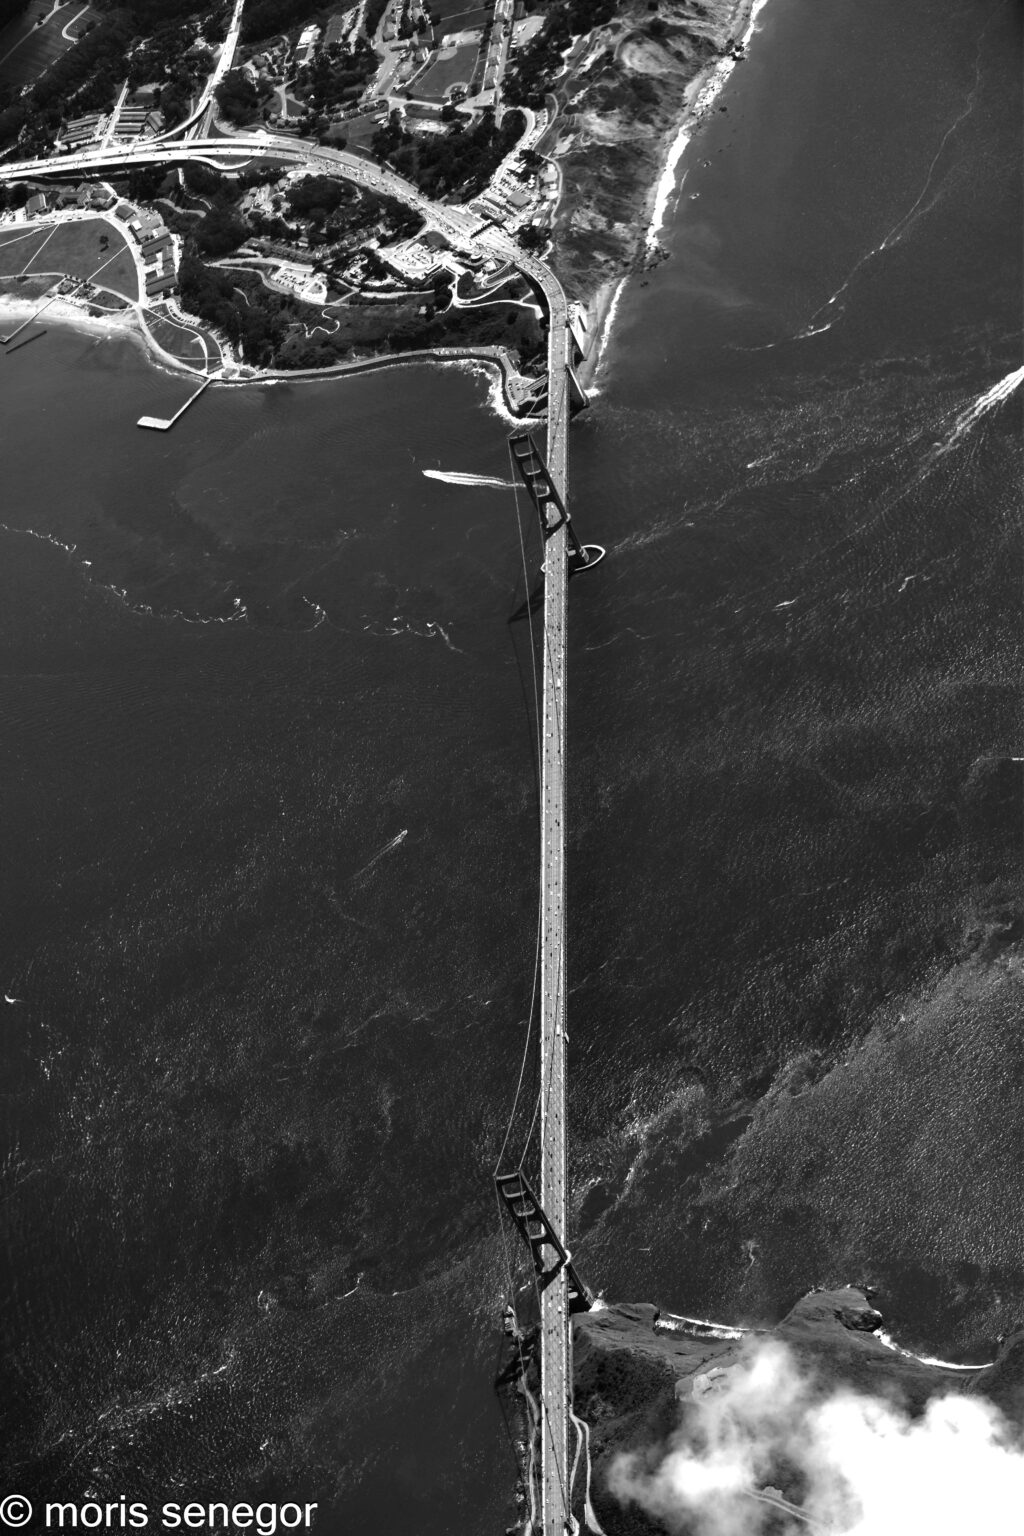
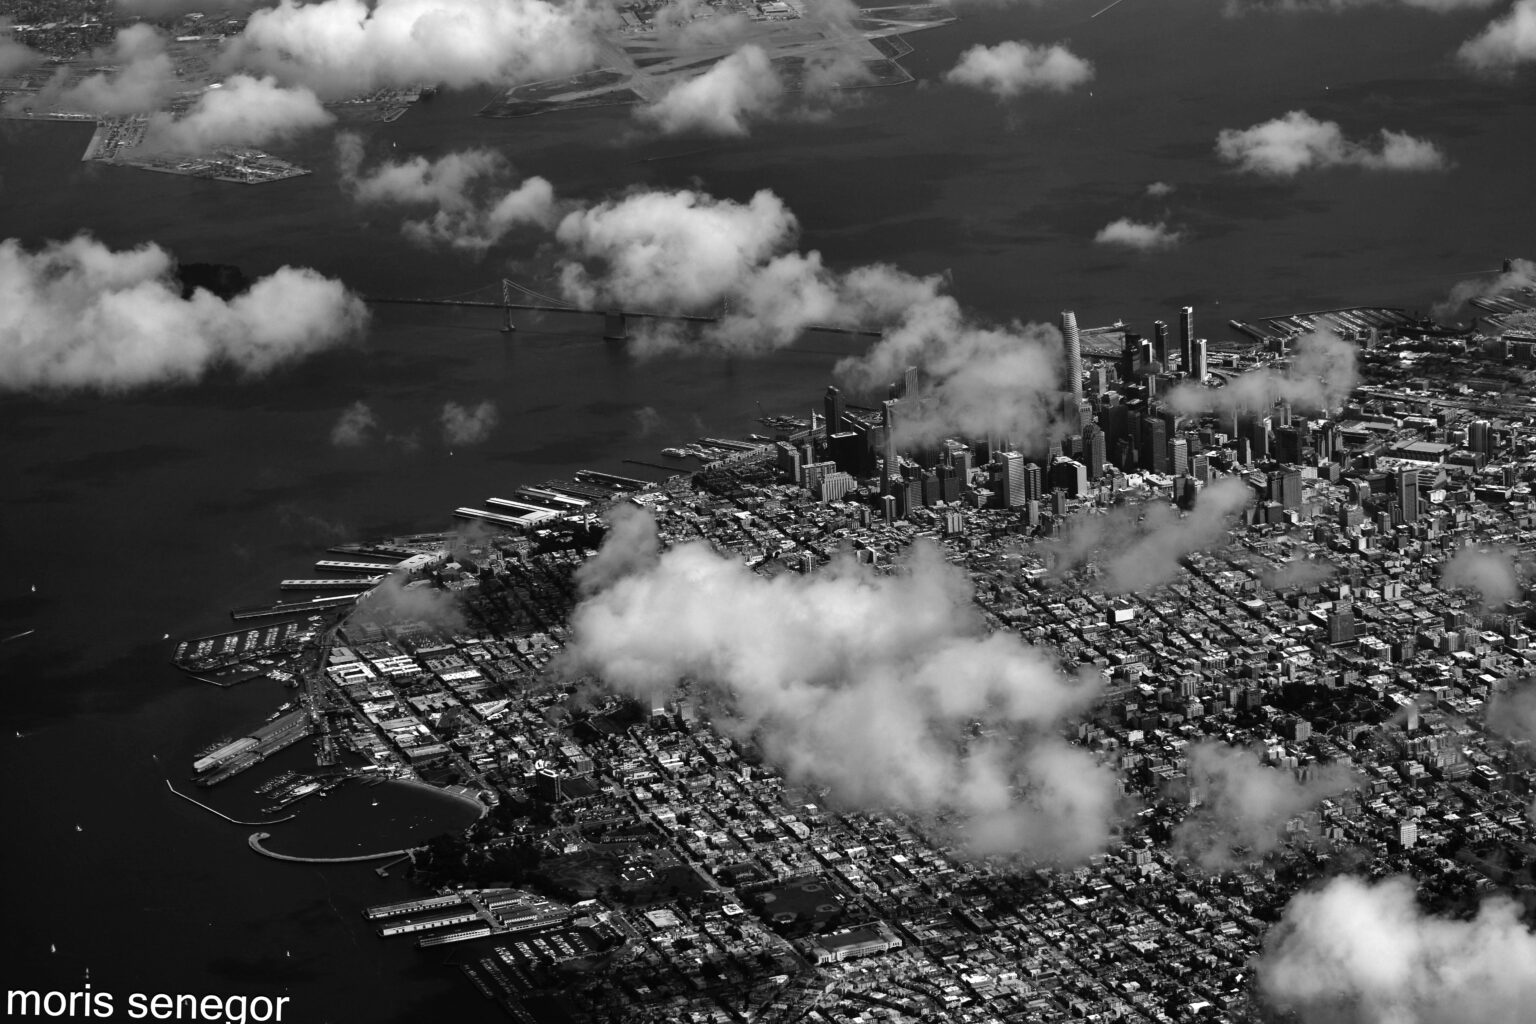
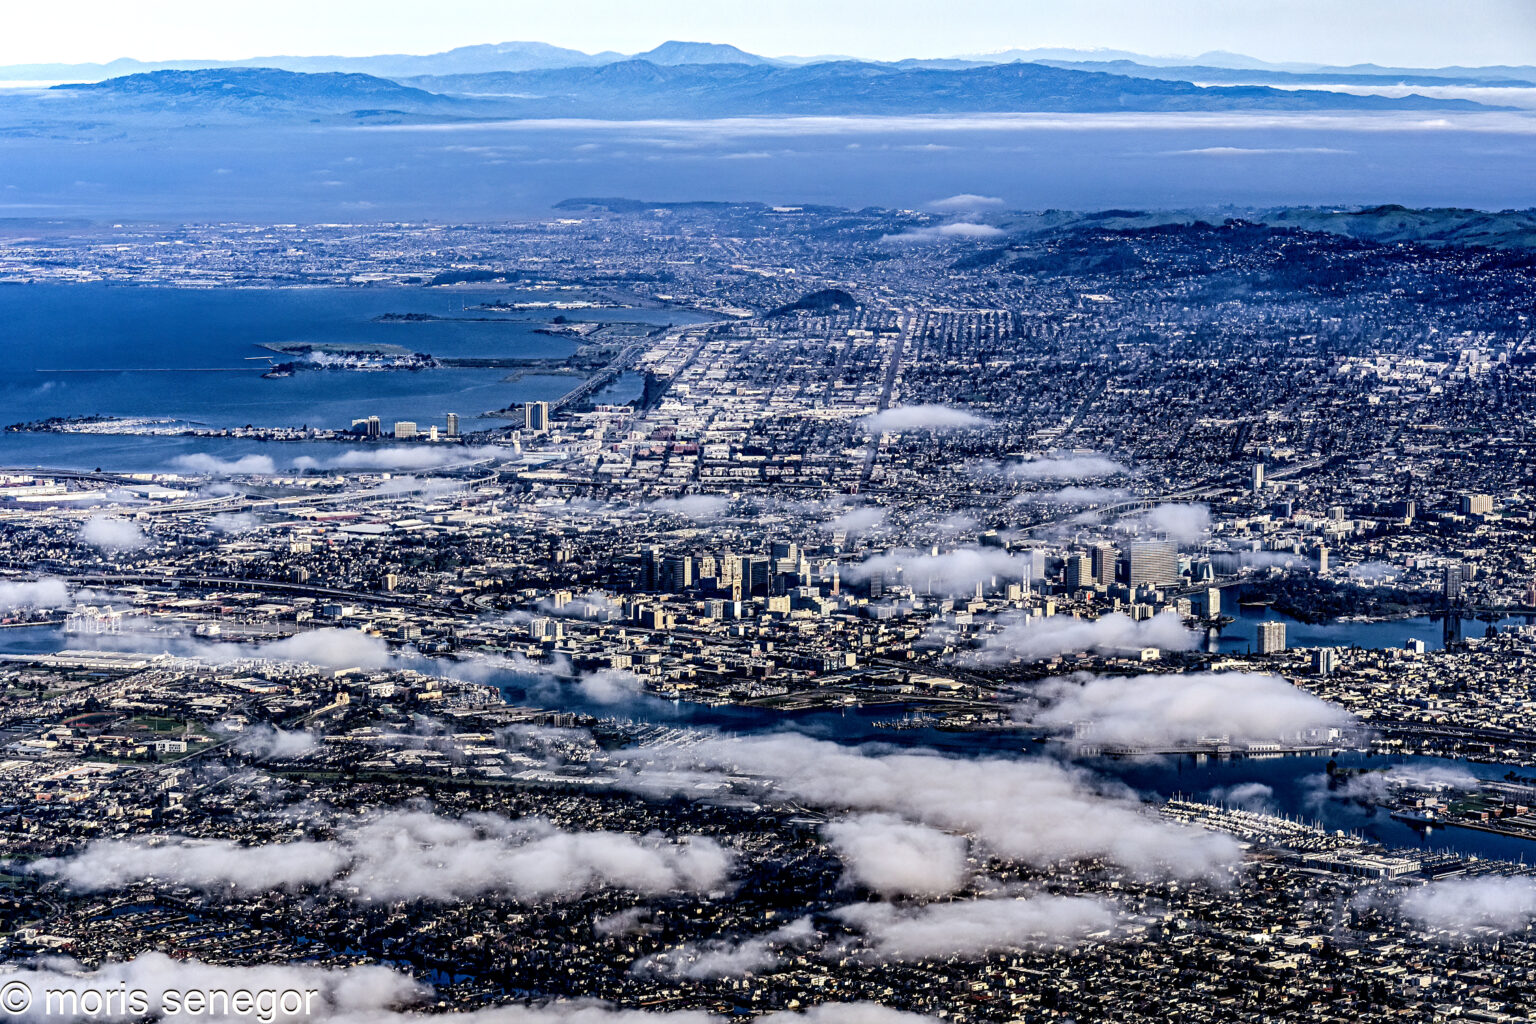
Weather conditions can vary, creating different moods.
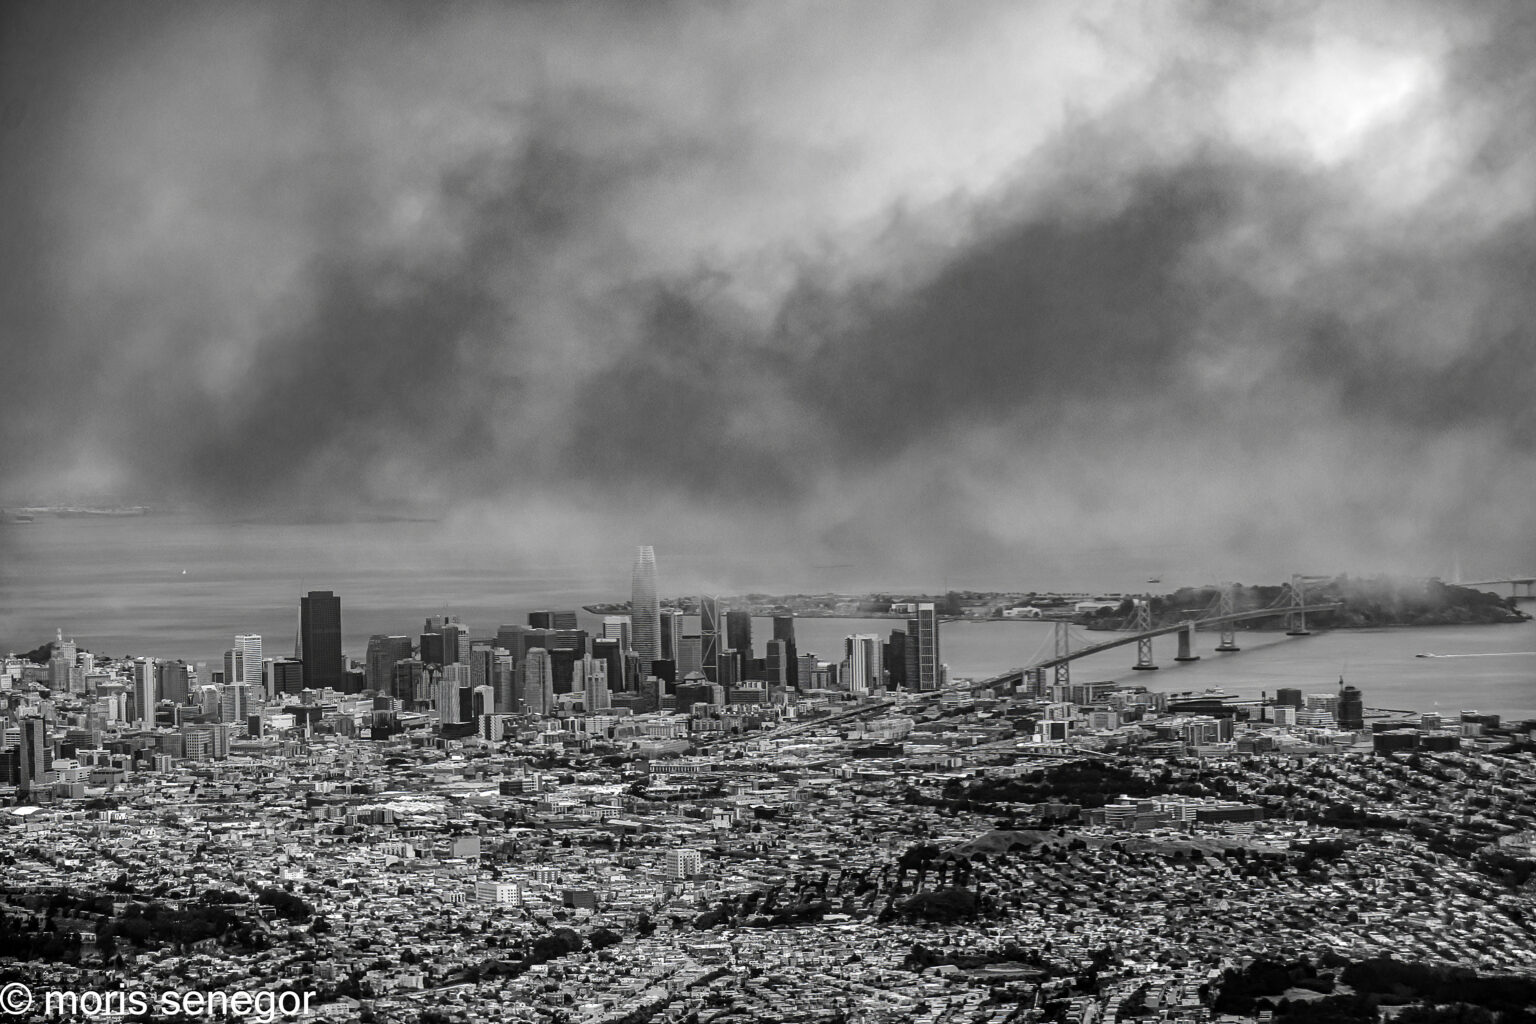
Scattered clouds can make for dramatic pictures.
Planning is crucial. It begins when you book your flight, with proper seat selection.

For those in the front of the plane do not pick seat #1. Windows there can sometimes be difficult to access. Numbers 3 or 4 are best, often providing two windows to shoot from.

Don’t worry about dirty windows. Most are clean enough to shoot through. Remember to bring your camera on board. Prepare your settings and take a few test shots as the plane is taxiing to make sure all is okay. Once airborne, the opportunity passes fast. You don’t want to be fiddling with your camera settings as the City passes by.
There are various factors that can foil your plans. Weather is a big one. Fog and rain are a no-go. Keep your camera in its pack.
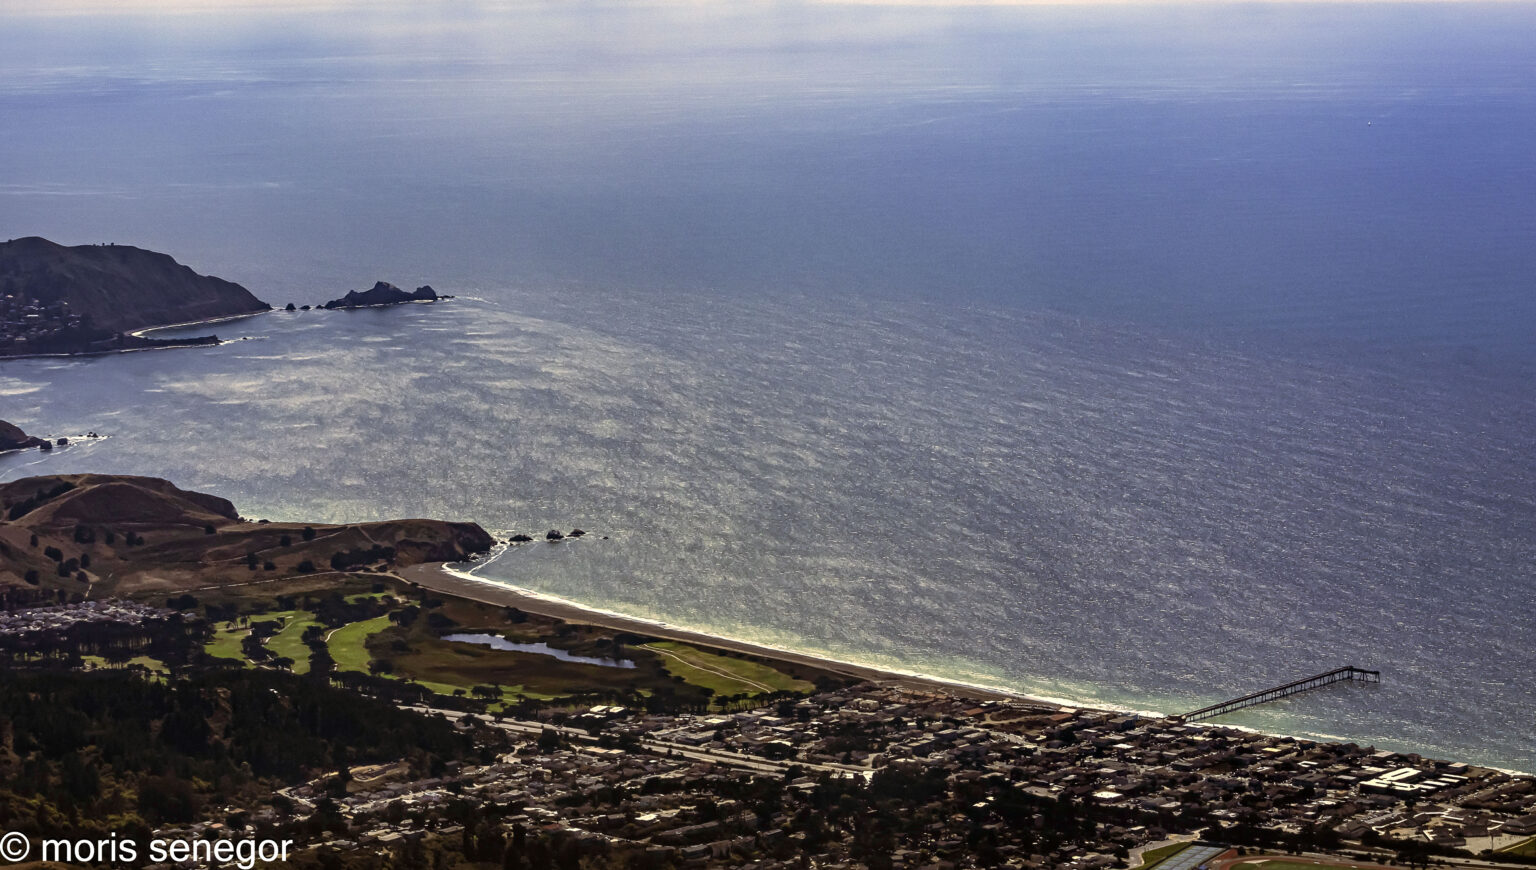
The other variable is the less common 19R & L takeoff. In this case, the plane climbs toward the ocean and then banks north – northeast. The left side will see nothing but water, Pacifica if you’re lucky. San Francisco will be on the right side as the plane banks.
It is impossible to guess which takeoff pattern you’ll encounter when you choose a seat while booking a flight. But take my word, if you choose the left, you are more likely to be rewarded. Still, if you run into a 19R & L takeoff, it is disheartening when you sit there on the left, waiting with the camera on your lap. All you can do is see the city from across the aisle and hold your tears.
I’ve had my share of such disappointments. One is worth telling. On a flight to Seattle I had, as usual reserved a left seat. A few hours before departure, the airline cancelled my flight and put me on a different plane, still in the morning, but on a right-sided seat. I protested to no avail. So, when I boarded the plane, I asked a random stranger on the left to switch seats with me. She graciously agreed. My happiness at getting the left window was short lived as the plane took off on 19L toward the ocean and I stared at the seat I gave up from a distance while it gave the killer view.
You can’t win them all.
Tips for photographers. Camera settings can vary, depending on your choice. In general, you need to control shutter speed since you’re on a moving platform. Manual or Shutter Mode with moderately high speeds 800-1200 will do. F stops can be low, 6-9. On clear days my preferred ISO is 200, but this too can be varied up or down.
There is plenty of good light and therefore room for variation in all these settings. Once you get the shots it is imperative that they be post-processed with software such as Photoshop or Lightroom.
The originals will be hazy and have a strong bluish tinge. The former can be fixed primarily with the clarity and dehaze sliders, the latter can be partially alleviated with adjustments of white balance. With a nose-up airplane that is banking, horizons will be tilted. These need to be straightened.
The photos will tend to be noisy. Noise reduction measures are helpful as are image sharpening software such as Topaz.
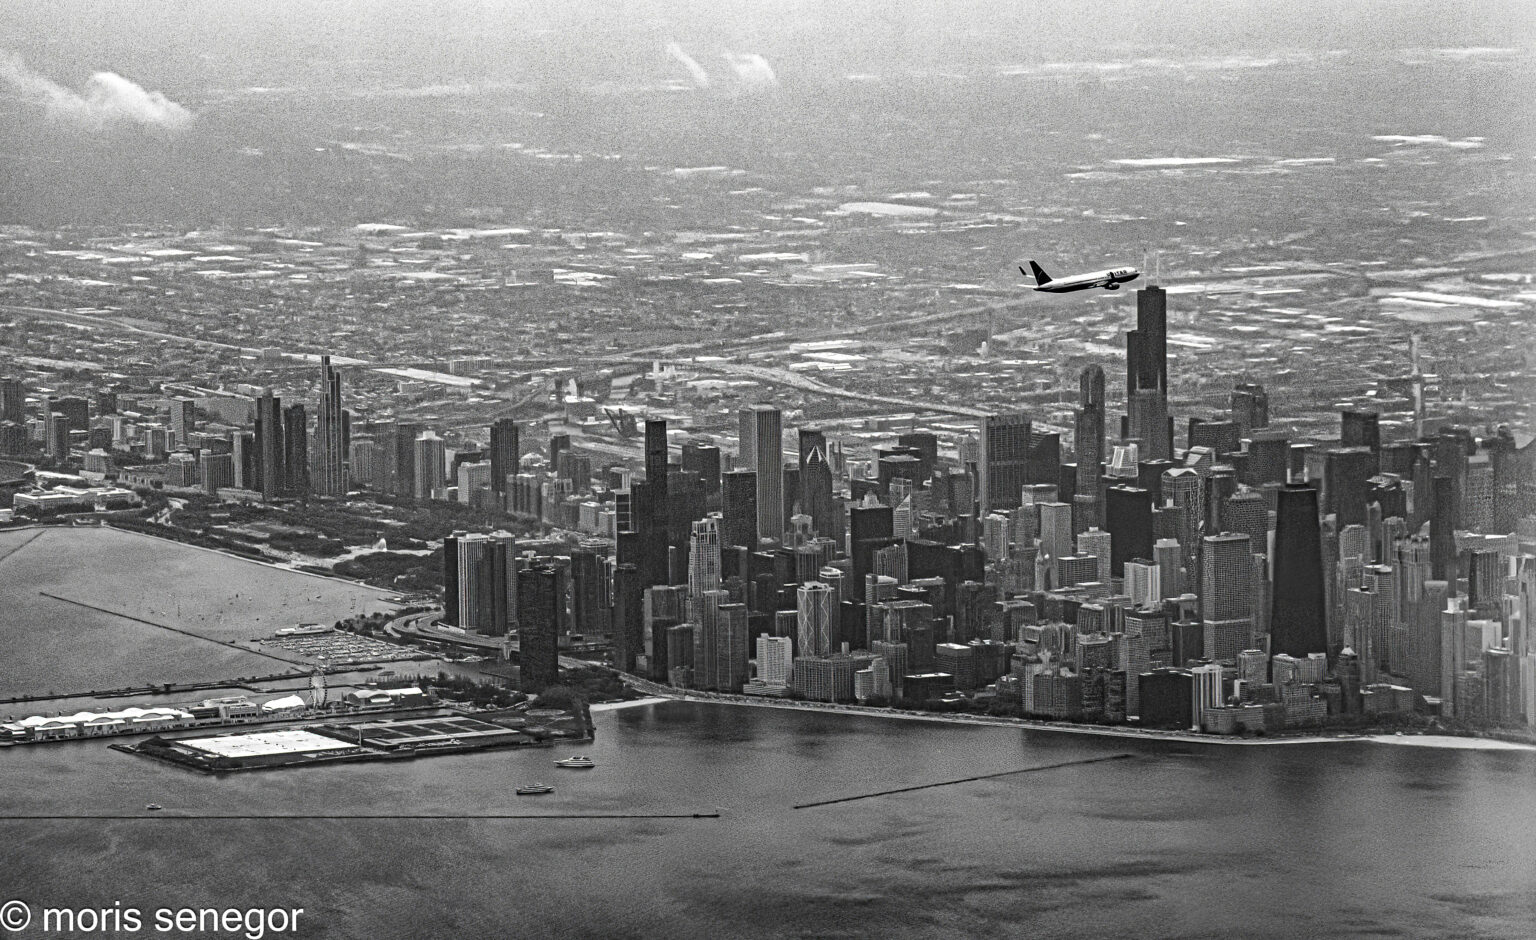
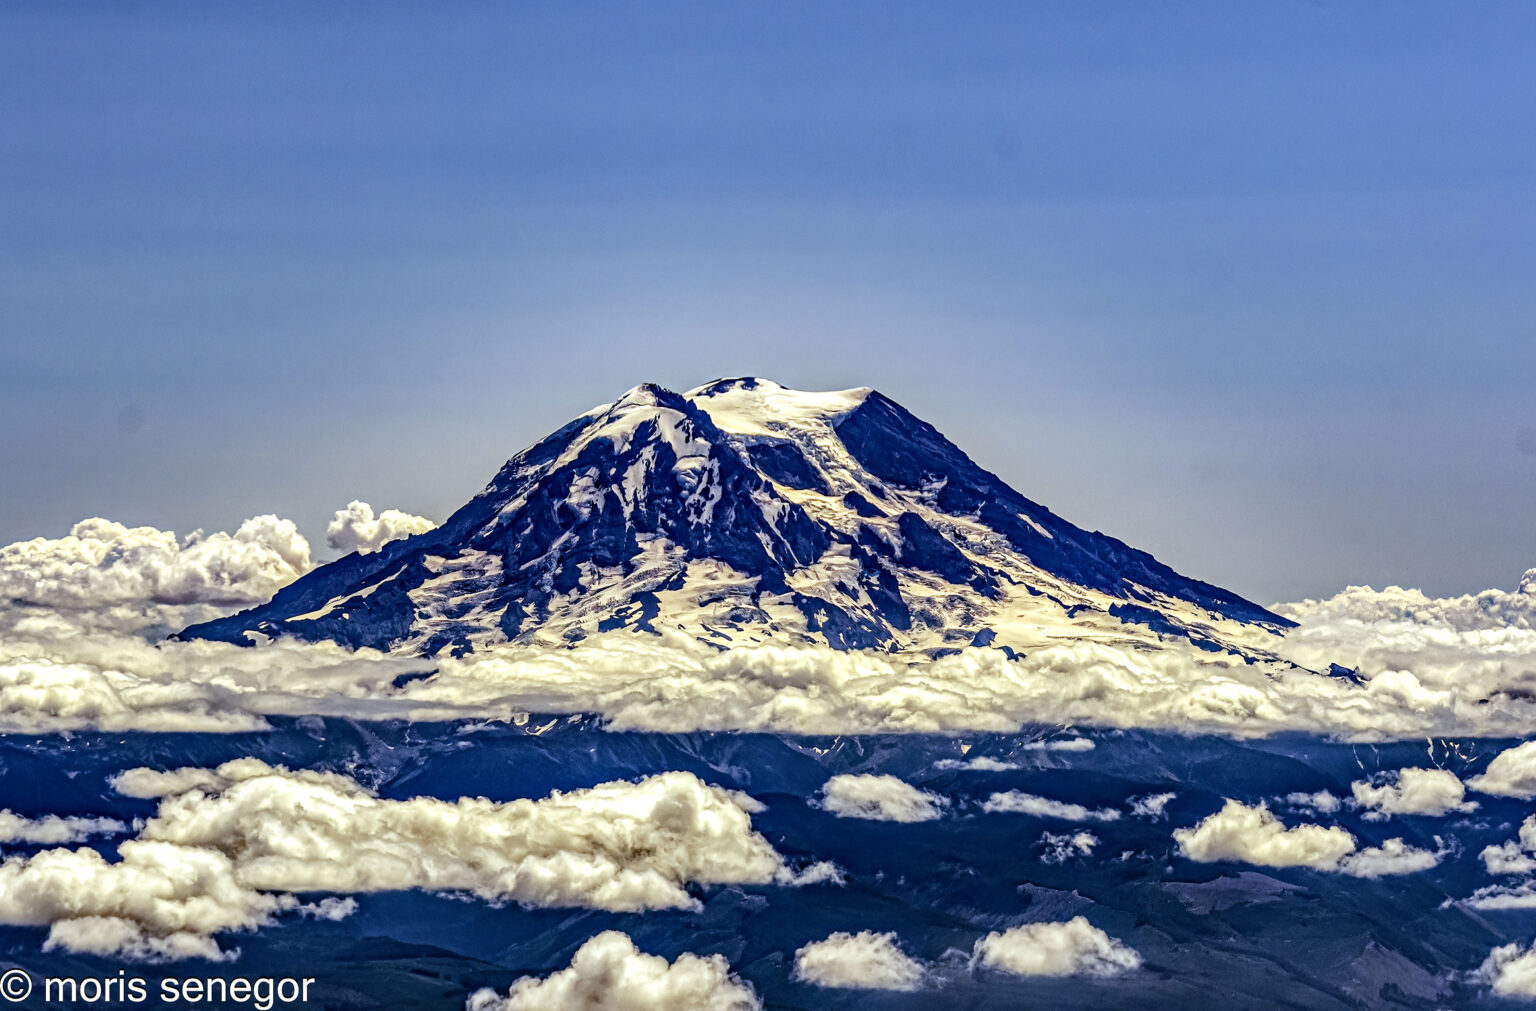
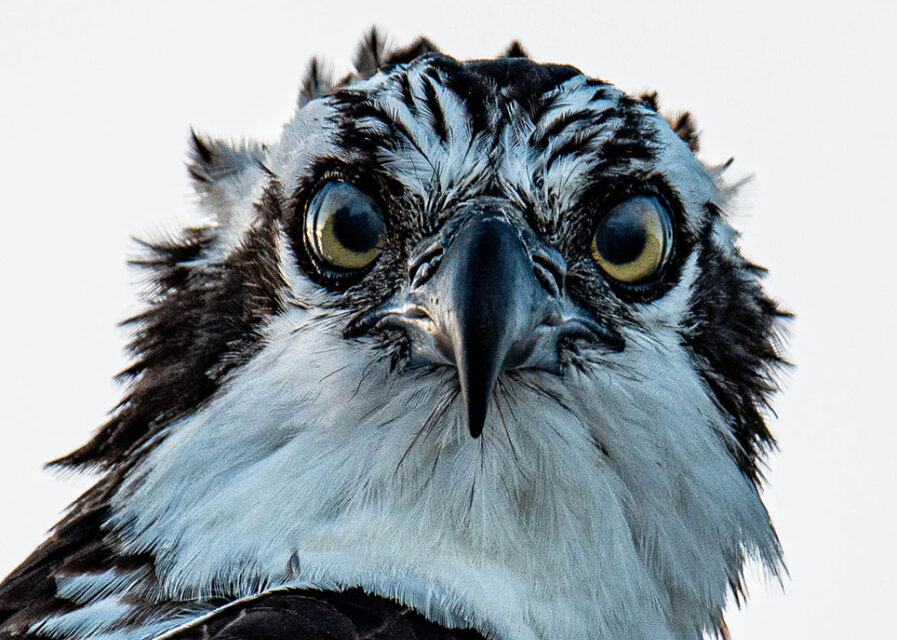
One final recommendation: don’t put away your camera. You never know what you might encounter during the flight or during descent to your destination.